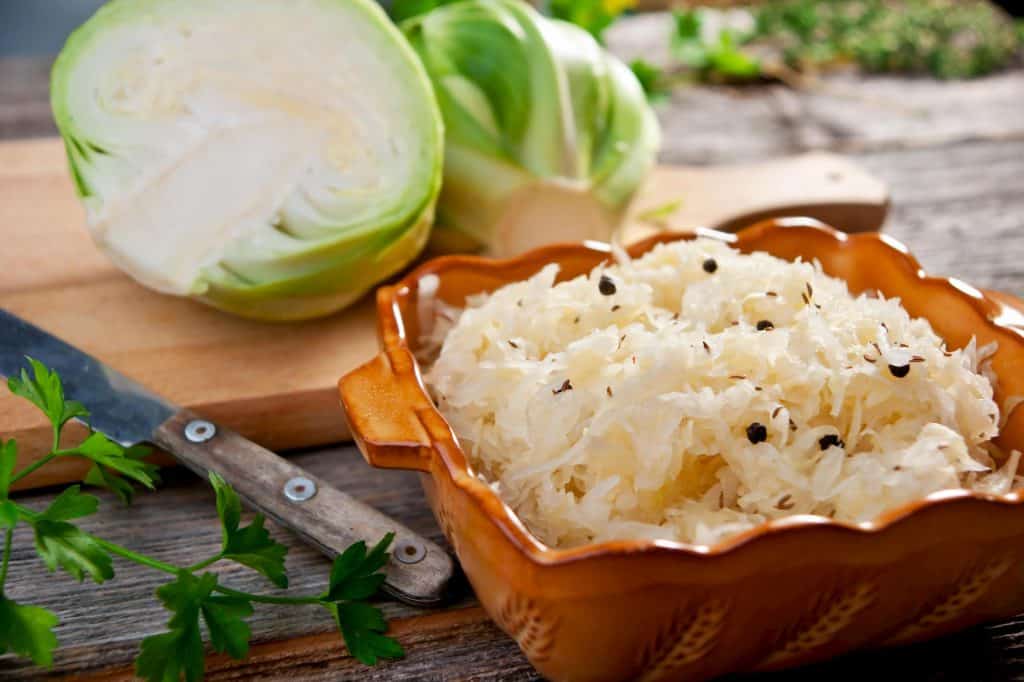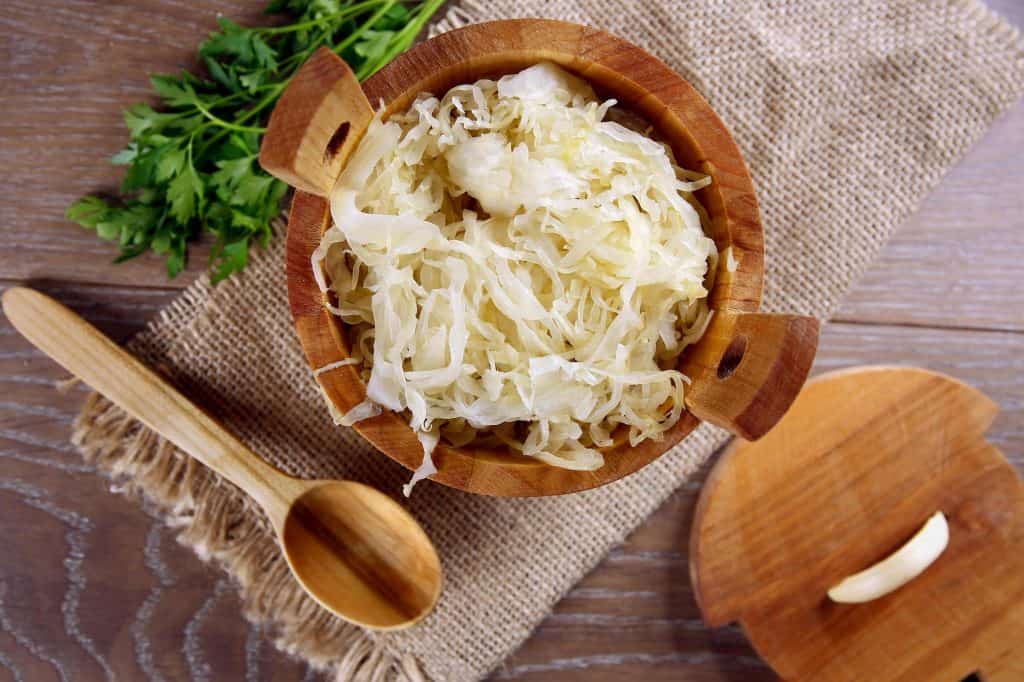
The word Sauerkraut is made up of two words: sauer and kraut. Sauer stands for sour and Kraut stands for cabbage. Thus, sauerkraut is sour cabbage.
But do not let the name fool you even a bit. Although the word is German, the dish is originally from China.
Chinese workers discovered that cabbage stored in porcelain jars acquired a tasty, tangy flavor which was a great accompaniment to meals.
Sauerkraut is made using lactic acid fermentation which imparts not just a mouth watering taste but also many healthy benefits. So today I will be giving you a detailed, step by step recipe on how to make Sauerkraut.
Before we move on to the steps to make delicious sauerkraut, let’s take a look at some of the many benefits:
Benefits of Sauerkraut
- Sauerkraut is low in calories and hence an ideal food or side dish for weight watchers.
- It is loaded with digestive enzymes. Sauerkraut is a must-have food for people with constipation, and chronic stomach issues.
- The Lactic acid fermentation helps impart probiotic bacteria in the pickle making it extremely beneficial for the immune system. The good bacteria fight off bad bacteria and yeast, thereby preventing urinary tract infections, sinusitis, stomach infections, skin problems, and even allergies.
- Vitamin C in sauerkraut also can help prevent seasonal colds and coughs and ward off premature aging.

How to make Sauerkraut
You will need
Shredding equipment
You can use a knife, a shredder or a grater for this job. Many people also use mandolin or scissors and even food processors. You can use any of these depending on how you would like the shredded cabbage pieces to look.
Kitchen scale
Mainly you will use No products found., apples and spices. Scale is a necessary tool if you plan on making large batches of sauerkraut. You don’t want to end up throwing away a large batch because you didn’t measure the ingredients properly.
Spoons
I use measuring spoons. These will be needed for measuring salt, spices and similar. I recommend using wooden spoons when preparing fermented foods. Metal or stainless steel spoons can kill the good bacteria so it’s best to avoid using them.
Mixing Bowl
It is best to go for ceramic, stainless steel, or glass mixing bowl. Ensure the bowl is large enough to accommodate all of the shredded cabbage.
Fermenting jars
I like to use ceramic or glass jars. Make sure the jar has a wide mouth. Plastic buckets also work.
Pick a jar that is big enough to fit your sauerkraut batch (of course you can use a few jars).
Avoid containers that could leak or ones with cracks. Also avoid stainless steel or metallic containers as they could corrode due to the acids that form during fermentation.
I recommend Masontops fermentation kit due to quality, convenience, and price. It has the basics you need to ferment sauerkraut.
- MASONTOPS COMPLETE MASON JAR FERMENTATION KIT: Includes all the tools needed to turn your ordinary wide mouth mason jar into a fermenting machine! This home fermentation kit converts 4 jars into fermenters for making nutritious homemade sauerkraut, kimchi, pickles, hot sauce and more!
- 9 PC FERMENTATION STARTER KIT INCLUDES: 4 Pickle Pipe fermentation lids for wide mouth mason jars, 4 Pickle Pebble fermentation weights wide mouth mason jars, 1 Acacia Pickle Packer Vegetable Tamper and Bonus Printed Recipe Book. Become a probiotic vegetables maker and pickling pro with the best supplies and equipment from the #1 source.
- MAKE YOUR OWN DELICIOUS PROBIOTIC SUPERFOODS: Ferment vegetables (carrots, pickles & radishes etc.) in a brine or use your acacia wood pounder to pack tasty dry salted ferments like sauerkraut, kimchi and hot sauce. All with your lacto fermentation kit. Good stuff for your tummy and immune system!
- EASY TO USE AND MAINTENANCE FREE: Fill jars with veggies and salt or brine, add sauerkraut weights & mason jar airlock fermenting lids. No need to monitor or burp your jars, your Pickle Pipe airlock for fermenting vents gas without letting oxygen in. Your easy fermenter fermentation kit!
- FROM THE MASON JAR ACCESSORIES EXPERTS: Making your own fermented foods is fun and easy when you trust the Masontops name. Step-by-step instructions with beautiful pictures on how to easily make probiotic superfoods at home with this ball fermentation kit are included.
Mason jars also work well. They act as air tight containers and help in preservation of pickles.
Leftover rubber bands
Keep the rubber bands. You will need them to secure the lids of the fermenting jars in order to weigh them down.
I collect rubber bands in all shapes and sizes. Stack them up in a ball and keep them on hand.
Disposable gloves or reusable gloves
These are optional but good to have.

Preparing the veggies
There are many options for you when it comes to prepping your vegetables to make the sauerkraut.
Grating
You can grate your cabbage/veggies using a grater, mandolin or slicer. Grating guarantees the right length of cabbage pieces so that the salt can reach all parts proportionately.
Slicing
Slice your veggies using a slicer if you do not want to shred them. Use a knife, vegetable slicer, or mandolin for this job. The firmer the cabbage/veggies, the thinner you should slice them. Slice the softer veggies into thicker pieces.
Chopping
You can chop the veggies in pieces. Make them into cubes or squares as required. Roughly chopped veggies take slightly longer to cure than thinly chopped ones.
Leaving the veggies intact
Some people also pickle the vegetables intact. This is mainly the case for cucumbers, sprouts, beets, radishes and olives.
If your sauerkraut contains cabbage then it is best to submerge the whole thing in brine and hence shredding, slicing or chopping works best.
Precautions to take
Fermentation requires you to take several precautions. Sanitation and cleanliness are of utmost importance here and are essential to avoid spoiling your ferment.
- Wash your hands thoroughly. Use disposable or reusable washable gloves if needed.
- Sanitize all surfaces including the cutting or chopping boards, all instruments including slicers, food processors, and shredders.
- Try using organic products as far as possible. This will ensure toxin free ferments.
- Wash your veggies thoroughly before fermenting.
- Ensure that you give the veggies adequate time to ferment before you move it to cold storage. If veggies are not fermented storing them in the cold temperature will abort the fermentation.
- If any mold develops on the ferment, you must scrape it away.

Sauerkraut Recipe
- Total Time: 1 hour
Description
A simple recipe to make traditional, homemade sauerkraut using only cabbage and salt.
Ingredients
- 1 medium size cabbage head
- 2 tablespoons salt
Instructions
- Sterilize the jar with boiling water or wash well with warm soapy water. As you will be using your hands to massage the salt into the cabbage, ensure you wash your hands in warm soapy water.
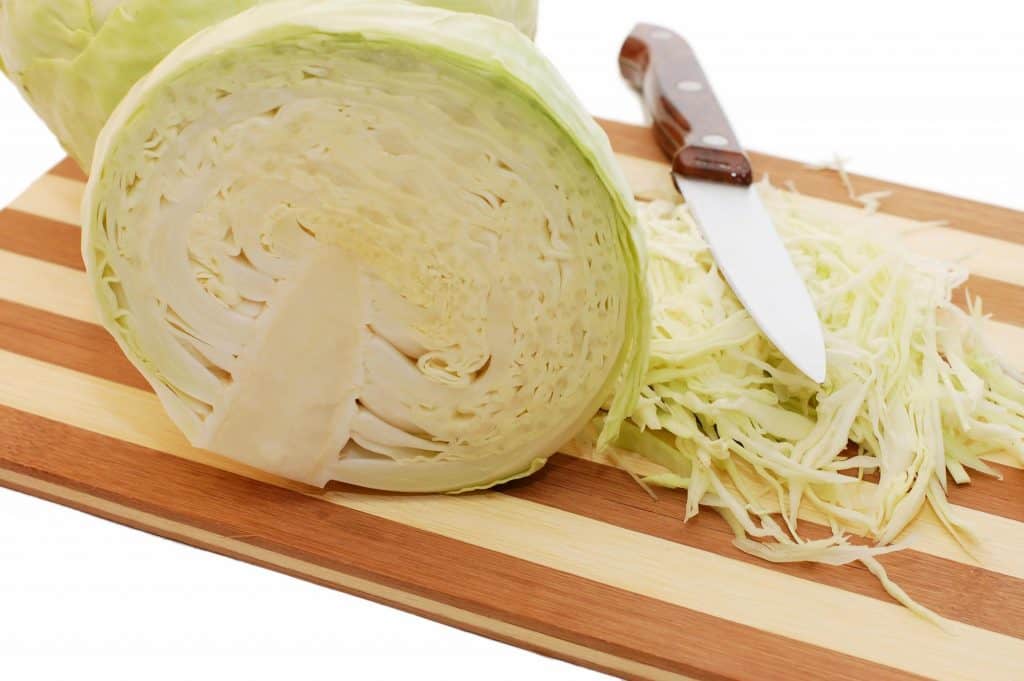
- Remove outer leaves of the cabbage and place them on side. Then cut the cabbage into quarters and trim out the core. Shred cabbage into very thin ribbons and leave the core on side.
- Transfer the cabbage into a mixing bowl and sprinkle the salt over the top. Start massaging and squeezing cabbage with your hands until it’s soft and juicy. This will take 2-10 minutes.
- Pack the cabbage and juice into a glass jar. Ensure the cabbage is submerged below the brine of cabbage juice. Apply added pressure to the cabbage while packing to ensure that there are no trapped air pockets in the jar.
- Leave at least 2 inch of space between lip of jar and brine. Place one or two larger outer leaves of the cabbage over the surface of the shredded cabbage. Then place a weighting stone on the top of the leaves to keep the cabbage weigh down. If you do not have weighting stone you can use cabbage core instead.
- Cover the mouth of the glass jar with a cloth and secure it with a rubber band. Placing the cloth will allow the air flow in and out of the jar and will prevent insects from getting into the jar.
- Ensure the stone is holding the shredded cabbage below the brine.
- Leave the cabbage to ferment away from direct sunlight. The fermentation process takes around 21 days. Keep checking it daily and start tasting it after 5 days. Ensure the cabbage is sitting below the brine, if not, keep pressing it down every time when you check it.
- When the fermentation is to your liking move the ferment into refrigerator, basement or root cellar storage. Enjoy this crunchy and delightfully sour ferment with your meat meals and sandwiches.
Notes
Equipment: Glass jar (Le-Parfair style jar with a rubber seal or similar), chopping board, cabbage shredder or chef’s knife, mixing bowl, weighting stone, cloth for covering the jar (if glass jar does not have a rubber seal) and a rubber band for securing the cloth (if glass jar does not have a rubber seal)
- Prep Time: 1 hour
- Cuisine: European
Nutrition
- Serving Size: 100 grams
- Calories: 19
- Sugar: 1.8 grams
- Sodium: 661 mg
- Fat: 0 grams
- Carbohydrates: 4.3 grams
- Fiber: 2.9 grams
- Protein: 0.9 grams
- Cholesterol: 0 grams
Variations in basic recipe of Sauerkraut
Sauerkraut basic recipe above is flavorful and tasty but the following variations also work well and have received rave reviews.
Vegetable sauerkraut
- 4 cups shredded cabbage
- 2 peeled and shredded carrots
- 1 cup French style green beans
- 1 cup peeled and shredded turnips
Method: Follow the steps given in basic recipe above.
South American sauerkraut
- Basic sauerkraut recipe ingredients
- 2 thinly sliced medium onions
- ¾ tsp red chili powder or pepper flakes.
Method: Follow the steps given in basic recipe above.
Japanese sauerkraut
- Basic recipe ingredients
- 2 cloves of garlic
- 2 tbsp of grated ginger
- 2 tbsp Tamari sauce
Method: Follow the steps given in basic recipe above.
Tips and ideas
I make many sauerkraut variations but I keep coming back to the basic recipe. I love adding carrots and onions to my kraut recipes.
They not only add a hint of sweetness and spiciness but also some cool sunset-like colors to the kraut.
Adding caraway and/or cumin seeds is optional but they add great flavor although some people do not like the taste of these seeds in their kraut.
Many amazing fermenting jars and crocks are readily available online. Crocks and mason jars work best.
You can use any large glass or porcelain jar as well. Do not tighten the jar too much; let the carbon dioxide bubbles escape from time to time.
Some experts also recommend adding a napkin, kitchen towel or some wax paper at the mouth of the jar before securing the lid.
Many regular fermentors have invested in crocks with spouts that allow the carbon dioxide bubbles to escape without adding oxygen. However, for the novice or occasional fermentor, regular jars or crocks will suffice.
Five to seven days is the ideal time for fermentation to be complete. You will get a nice green and crunchy sauerkraut at the end of this period.
Two to three weeks of fermentation will give you classic sauerkraut – a rich, crunchy and healthy kraut with tons of probiotic bacteria. You can always experiment a bit and see what you like.
Note that fermentation depends on a lot of factors including the ambient temperature, the strength of your brine and even how finely or coarsely you have chopped your vegetables.
The jars in my refrigerator that I made last year are delicious and they taste better as they age.
Conclusion
With just a bit of practice, I have learned that it is very easy to make basic sauerkraut.
Once you know all the steps in the process, you can make it again and again and even try the variation recipes.
It is very important that the brine completely covers the veggies. This will prevent exposure to air and activate the lactobacilli bacteria. These bacteria are what make the sauerkraut what it is and they thrive in an anaerobic environment. The proliferation of these bacteria is what gives sauerkraut its characteristic tang. It also makes the kraut acidic enough so that the harmful bacteria does not survive.
Make sure you store your kraut in the refrigerator or cellar. At higher or warmer temperatures, the pectin in the kraut activates resulting in a vinegary taste and loss of crunchy texture.
Comment below with your experience of making sauerkraut!


sauerkraut takes 21 days to ferment, not 3 to 10 days.
Thanks John for bringing it to my attention. It was an oversight on my part which has now been corrected.
Hi John,
Thanks for sharing your experience. Based on my experience the amount of salt can vary depending on the quality of the cabbage, salt and fermentation conditions. I’ve noticed that organic cabbage is naturally more juicy than non-organic cabbage hence I tend to use more salt. The amount of salt should be at a ratio of about 2% of the cabbage weight. Would love to see photos of your final product. Feel free to share them.
2 tablespoons 0f salt for 2 pounds of cabbage is way too much. use 1 tablespoon.
I assure you that 1 tablespoon of salt per head of cabbage is enough, I get consistent results with 1T. send your email address and I will share my recipe. I’m 80 and squeezing the cabbage to get liquid is too much. I use weights.
Hi John, I would love to see your recipe. Please send your recipe through our contact form as it’s not recommended to share email addresses in comments because of spam. Thanks!
Hi Gigi, I am allergic to mould, if the the sauerkraut ferments that would be a moulding process. Could sauerkraut then be bad for people with mould allergies?
Hi Lecresha,
During the sauerkraut fermentation process yeast is present but not mold. Mold appears if fermentation conditions are not suitable e.g. temperature is too high, sauerkraut is not submerged below the brine, etc. If you have mold allergies you should consult your doctor first before consuming sauerkraut.
I made my kraut later in the day and didn’t have time to babysit and squish my kraut down periodically to allow juices to flow out before going to bed. It was about ⅓ submerged, so I simply made a brine and topped it up.. just to be sure. Is this cheating? 🤪
I would not call it cheating :-). You don’t need to periodically squeeze the cabbage. If not enough juices releases at the first go you can top it up with brine. I would suggest a brine ratio of 1.5%-2.5%.
Hey awesome recipe!! I just did it today but had to use another source to get some understanding.
I didnt realize that the brine came directly from the juices of the cabbage, I dont think I remember reading it in the recipe, but it may be worthwhile to add just for clarity because whenever I think brine I think that I have to make it first. (From whenever I had to ever deal with brineing)
Otherwise I love your page and am gonna work on a sourdough starter 🙂
Thanks for your work!
Thanks Josh for your kind words 🙂 You made a good point about the brine.I’ll work on updating the recipe. Good luck with your sourdough starter and feel free to share your experience.